Correct installation is key to achieving a smooth opening action, good door alignment and long-lasting performance.
Choosing the right system will depend on the type of door, its intended use and the required opening range. Among the most common solutions are book hinges and cup hinges, widely used in kitchens, bathrooms, wardrobes and other pieces of furniture.
In this guide, we show you how to fit hinges on furniture step by step, what aspects you should bear in mind during assembly, and how to achieve a precise and professional fit.

How to fit book hinges step by step
Book hinges are one of the easiest solutions to install thanks to their design. To achieve a good result, it is essential to take precise measurements, mark the position correctly and check that both parts are properly aligned.
1. Mark the position
This type of hinge usually requires a recess, i.e. a small cut-out in the edge of the door that allows it to be integrated into the wood and prevents it from protruding.
To do this, place the hinge on the edge of the door, ensuring that the pin is correctly positioned against the edge. Next, mark its outline with a pencil. This mark will serve as a guide for cutting the recess accurately.
2. Cut the recess
To cut the recess, you will need a chisel and a mallet, preferably a rubber one.
Start by tracing the outline you marked earlier with the chisel. This will define the work area and reduce the risk of the wood splintering during the process.
Next, gradually cut away the interior until you reach the required depth. The hinge must fit perfectly and sit flush with the surface, neither protruding nor being recessed.
3. Securing the hinge
Once the recesses have been cut, position the hinge parts and secure them with the appropriate screws.
It is best to tighten them gradually and without applying too much pressure to avoid damaging the wood. Also check that both hinges are aligned and correctly spaced, as this will facilitate the movement of the door and improve the final finish.
Whenever possible, use flat-head screws of a size suitable for the thickness of the board.
4. Repeat the process
Finally, repeat the same procedure on the side or panel where the door will be fitted.
Mark the position, cut the recess and check that both parts match up before proceeding with the final assembly. Correct alignment at this stage is key to achieving a smooth and stable opening.
How to fit cup hinges step by step
Cup hinges require a little more precision during fitting, as it is necessary to drill a specific hole in the door and ensure the installation dimensions are correct.
If you follow the manufacturer’s instructions and work carefully, the process is straightforward and ensures a precise fit and stable operation.
1. Choosing the right hinge
The first step is to select the correct model based on the type of door, the opening angle, the thickness of the boards and the intended application.
There are various cup hinges for furniture, so it is advisable to check their technical specifications beforehand and choose the option that best suits the project.
If you need further information, you can consult our guide on the different types of cup hinges and their applications.
2. Drill the hole in the board
Fitting measurements may vary depending on the model, so it is important to always consult the technical data sheet before starting.
Once you have identified the correct position, mark the drilling point and make a small guide mark with an awl to make the router’s job easier.
Next, drill the board carefully and gradually, monitoring the depth at all times to avoid drilling right through it.
3. Fix the hinge
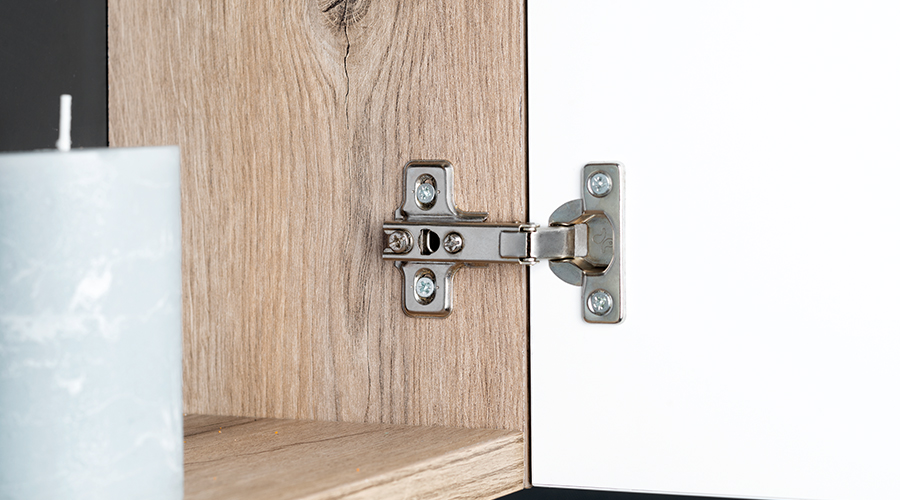
Insert the cup into the hole and check that the hinge sits securely against the surface.
Using a set square, check that it is correctly aligned and perpendicular to the edge of the door. Once the position is correct, secure it with the appropriate screws.
4. Fitting the door to the cabinet
Position the door in its final position and check that it is correctly aligned with the frame.
Mark the fixing points on the side of the cabinet and make small slides with an awl to make screwing easier and improve accuracy.
Finally, fix the hinges to the cabinet and repeat the procedure at all mounting points. Before finishing, check that the door opens and closes correctly and make any necessary adjustments to ensure even alignment.
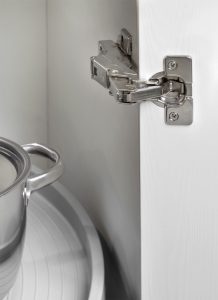
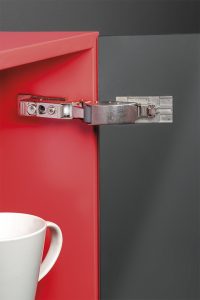
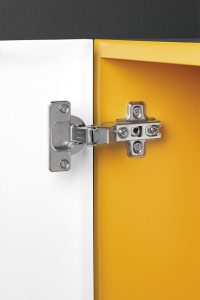
Find the right hinge for every project
Precise installation is essential, but choosing the right model is just as important to ensure smooth operation and a long-lasting finish.
In our technical catalogue of hinges you’ll find a range of solutions to suit every need: from cup hinges with different opening angles to models for glass, lift-up doors and special applications.
Thanks to this variety, it is possible to cater for both standard installations and projects requiring greater precision, discretion or more seamless integration into the furniture.
Now that you know the main steps for carrying out a correct installation, all that remains is to choose the solution that best suits your project.